Southeastern Pennsylvania Transportation Authority (SEPTA) Located in the Olney neighborhood of Philadelphia, the SEPTA R8…
How to Address Field Repair of Damaged Coatings
Powder coating is a popular choice for many applications due to its exceptional durability and resistance to chemicals, contaminants, and harsh weather conditions. When properly maintained, it can significantly extend the lifespan of your surfaces. However, over time, even the best coatings may show signs of wear and sometimes require repairs. In this post, we’ll explore how to keep your powder-coated surfaces looking their best and when it’s time to consider touch-ups or re-coating.
What Are the Types of Powder Coating Damage?
Because of its continuous exposure to the elements, pollution and ultraviolet light, powder coating may exhibit several different types of damage. These include:
- Scratches
- Oxidation
- Flaking
- Splintering
- Chalking
- Fading
Chipping is a common issue caused by a buildup of surface contaminants. Luckily, you can fix a powder-coat finish using a pretty simple process. This is the recommended method for repairing scratched powder coating in the field.
Steps for Touching Up Powder Coating
Feel free to contact us for advice on how to perform a do-it-yourself powder coating repair project. We’ll be happy to answer any questions you may have.
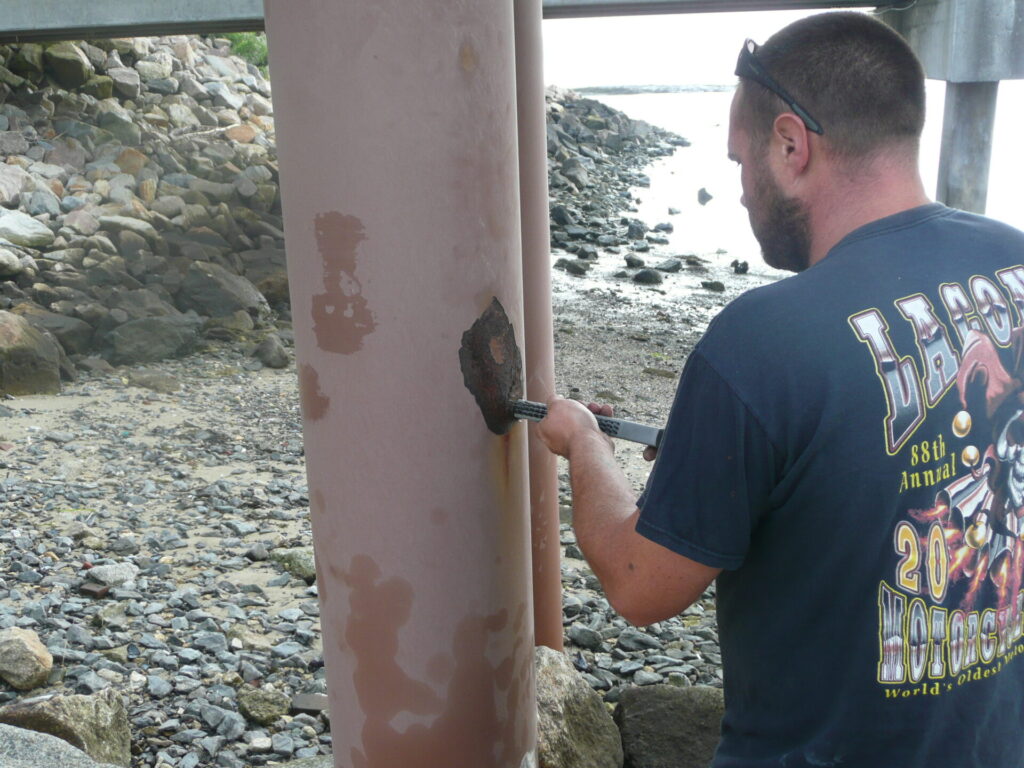
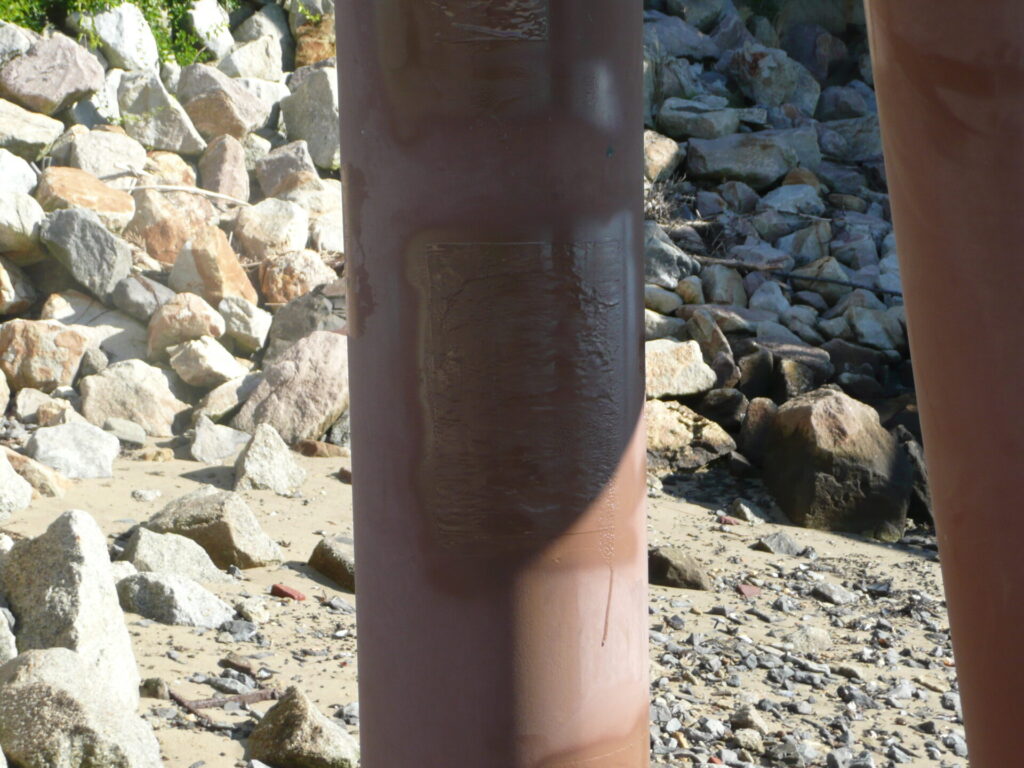
Step 1 – Inspect the area around the chipping carefully for splintering — those are areas with the potential to chip in the future, and you’ll want to address them at the same time. Prepare the surface by cleaning away the loose and flaking coatings with a putty knife or wire brush. Sanding the area will also help remove some of the more stubborn chipping, but stick with fine-grit options to prevent additional scratches.
Step 2 – Grind the repair area with a power hand grinder or wire brush until it reaches bare metal. Grinding creates a smooth, even surface that is ready for touch-up powder coating. Be sure to remove any dust from the grinding process before applying the touch-up coating.
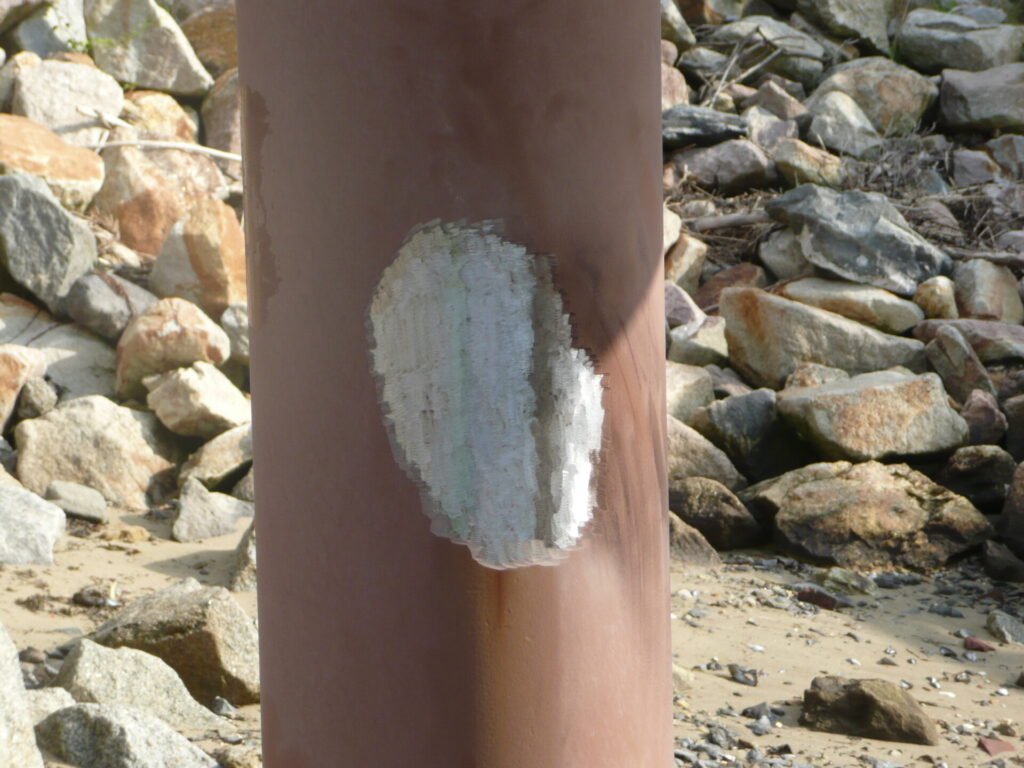
Step 3 – Consider using a zinc-rich primer before applying your main touch-up material. It is not mandatory but is highly recommended. The liquid coating should be applied with a brush. Apply in thin layers until you have attained the appropriate color and manufacturer’s recommended film thickness.
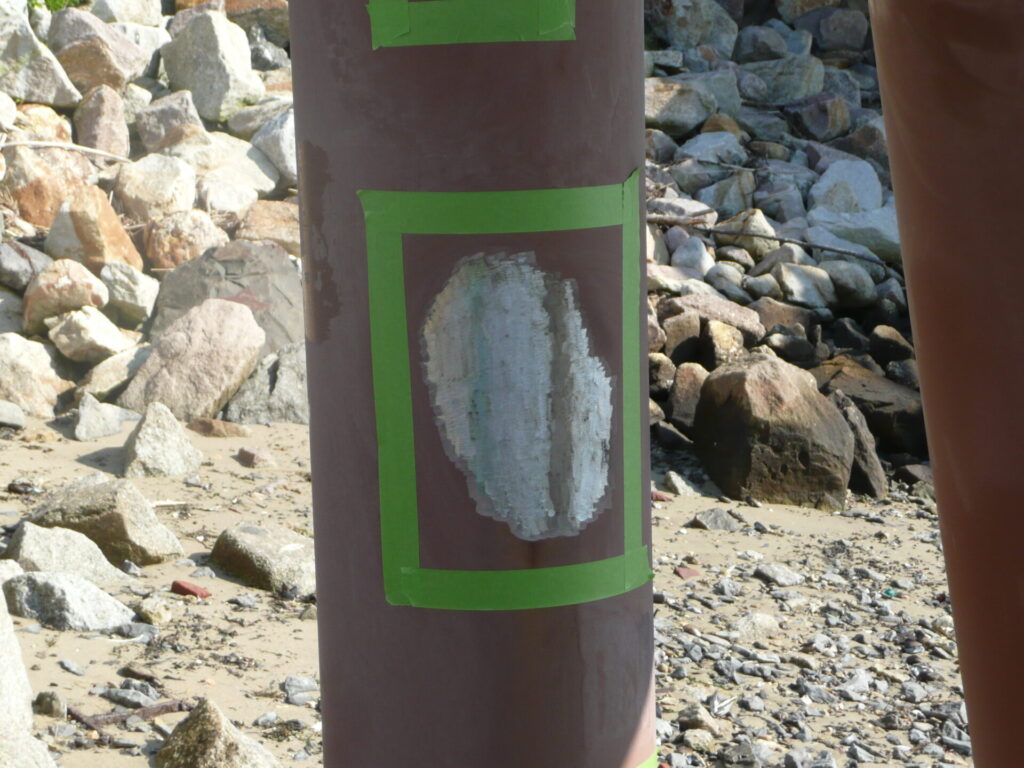
Step 4 – Match your liquid paint or color spray to your original color if desired. Be sure that any prior coatings have completely dried before applying the color match spray touch-up.
Step 5 – Inspect the area around the chipping carefully for splintering — those are areas with the potential to chip in the future, and you’ll want to address them at the same time. Prepare the surface by cleaning away the loose and flaking coatings with a putty knife or wire brush. Sanding the area will also help remove some of the more stubborn chipping, but stick with fine-grit options to prevent additional scratches.
Related Posts
Bridge Maintenance Replacement ProgramBridge maintenance has redefined itself over the past decade as aging infrastructure…
Waterbury Branch Railroad Culvert ReliningRebuilding America’s infrastructure is the charge for today’s municipal stewards. The…